
Resistance at the Cutting Table
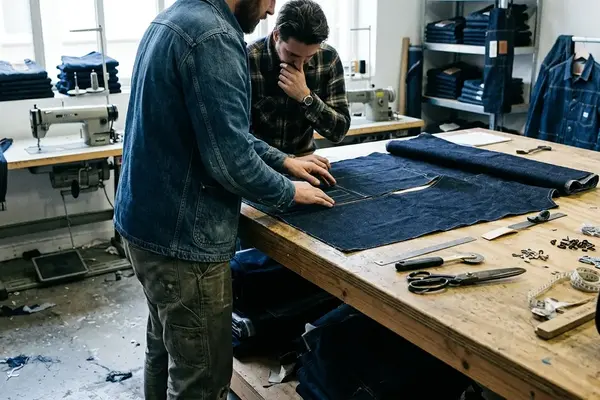
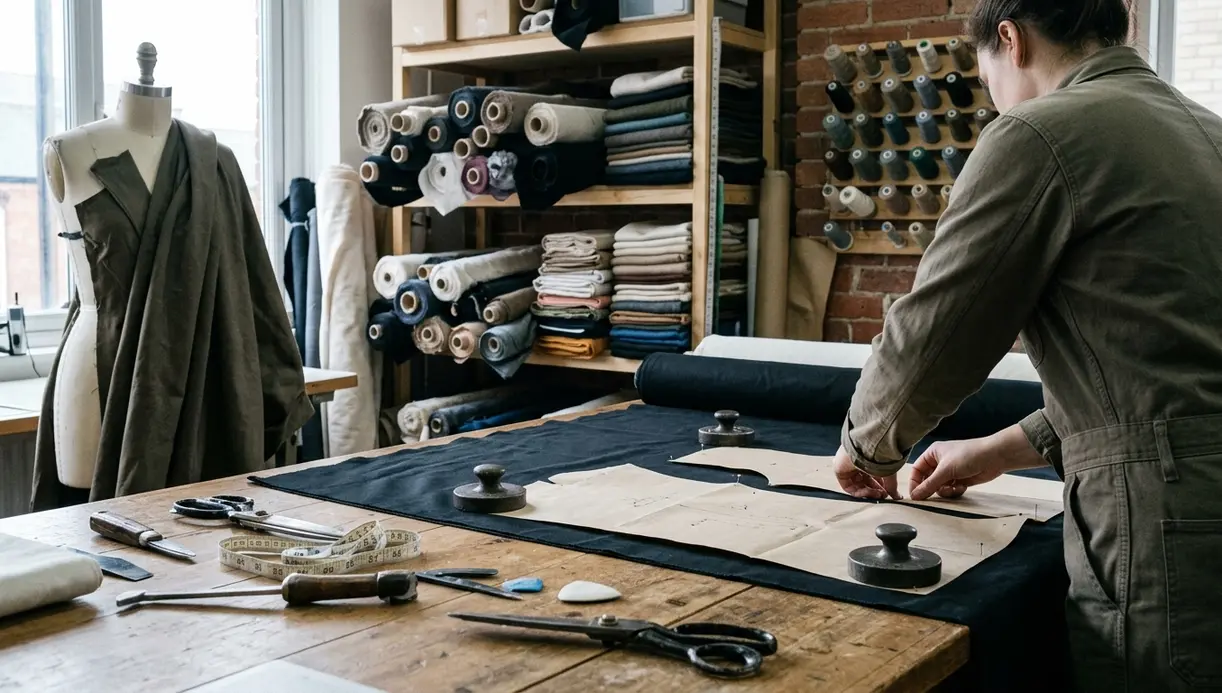
The assessment begins at the cutting table rather than the retail rack. A pattern cutter who moved from sample-room work into contemporary menswear folds 300 GSM cotton jersey face-to-face, aligns the grain, and drives eight- to ten-inch steel tailor’s shears through both plies. The blades close with visible resistance. The offcut stays almost board-flat instead of collapsing over the table edge. Lifting the cloth during cutting can distort the grain and produce mismatched panels, requiring the cutter to keep the fabric perfectly flat against the table surface.
That physical resistance highlights a core issue in modern garment production. Streetwear currently obsesses over extreme fabric weight as the ultimate proxy for luxury and durability. Brands market heavy t-shirts as indestructible armor, convincing consumers that a thicker shirt automatically equates to a superior product. The reality of textile engineering tells a different story entirely.
Heavy jersey reveals its true character under the blade. The sheer density of the knit demands precision from the cutter, as any deviation in the grain line will cause the final garment to twist around the torso after its first wash. The focus on raw weight often obscures the actual mechanics of how a t-shirt is built, shifting attention away from the structural integrity of the seams and the quality of the yarn itself.
The Mathematics of Fabric Density
Grammage is isolated from the other variables on the fabric specification sheet. GSM means grams per square meter and is determined from a known fabric area. It records mass per unit area before trims, seams, or finishing treatments are counted. The metric provides a standardized way to communicate density across the supply chain, governed by protocols like the standard test methods for fabric mass.
Two jerseys carrying the exact same 300 GSM specification can differ entirely in yarn count, stitch length, knit compactness, surface finish, and dimensional stability. A bulky fabric made from shorter fibers exposes more fiber ends, feels harsher against the skin, and pills sooner under friction. Longer-staple cotton spins into a smoother, stronger yarn, retaining its structural integrity without requiring excess weight to compensate for weak fibers.
Brands frequently use high GSM as a marketing shortcut to signal value, masking cheaper yarn choices behind a wall of heavy cotton. Vintage sportswear relied on specific yarn structures rather than raw weight — archival analysis of Mitchell & Ness indicates as much. When a manufacturer prioritizes weight over staple length, the resulting garment feels stiff and abrasive, degrading rapidly despite its heavy-duty appearance.
Engineering the Heavyweight Block
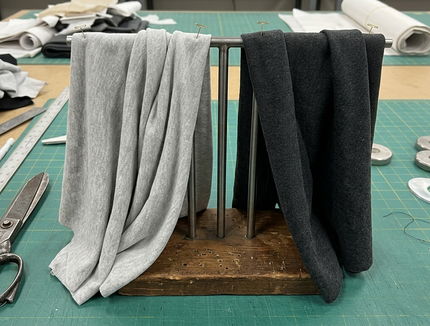
The cutter evaluates weight on a dress form before refining the pattern block. Shoulder pitch, armhole depth, and body width are checked while the jersey hangs on its intended vertical grain. The wale direction is normally kept vertical through the body, while the course direction supplies most of a jersey’s crosswise give. This orientation dictates how the fabric interacts with the human form.
If the knit resists bending, adding width makes the body project outward from the chest and shoulder points rather than fall closer to the torso. The garment boxes out, creating a rigid tent effect that flatters no one. The block is therefore adjusted around the jersey’s actual stretch. A practical sample-room check marks a 10-centimeter section across the fabric, extends it gently without forcing the knit, and then observes whether the mark returns after tension is released.
For a heavy jersey, the cutter checks the shoulder line, underarm fold, and side-seam hang after the sample has rested on the form for 12 to 24 hours. This resting period allows the heavy cotton to settle into its natural drape, revealing any tension points or grain distortions. The structural hang of a properly engineered 300 GSM t-shirt shares more in common with the tailored drape of wool flannel than it does with standard lightweight underwear.
Load-Bearing Seams and Wash Fatigue
Once the first sample is assembled, inspection shifts from hand feel to load-bearing areas. The hem is opened to confirm that two parallel needle lines are linked by a looper thread underneath. A two-needle coverstitched hem shows two straight rows on the face and an interlocking looper formation on the reverse, allowing the hem to extend with the knit. This flexibility prevents the stitching from snapping when the wearer pulls the shirt over their head.
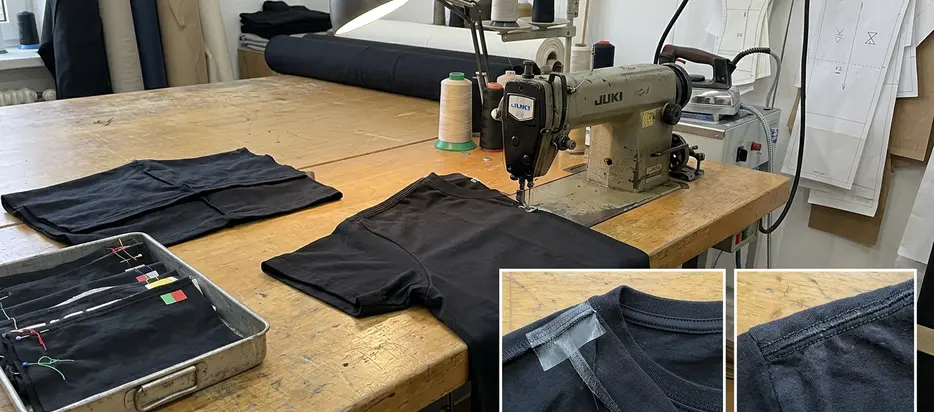
Shoulder-to-shoulder tape stabilizes the seam across the back neck, where hanging, dressing, and repeated pulling concentrate stress. The collar is folded, stretched, and released before laundering to establish a baseline for recovery. Wear testing records collar distortion, seam twisting, and shrinkage. A controlled comparison inspects the same measurements before washing and after 5, 10, and 20 domestic wash-and-wear cycles, using one laundering method throughout.
Merchandise produced for passionate supporters, such as the apparel for FC St. Pauli: German football club, often undergoes rigorous real-world testing in crowded terraces and frequent wash cycles. Those wear-test conclusions apply strictly to consistent domestic care; repeated high-heat industrial washing and drying can shrink cotton, fatigue ribbing, and distort seams even when the original construction is sound. Proper engineering extends the life of the garment, provided the wearer respects the physical limits of the cotton.
The Three-Second Store Floor Assessment
The store-floor decision reduces to one inspection sequence that can be performed without equipment. First, pinch the collar rib at the side of the neck opening. Stretch a short section of collar ribbing for 3 to 5 seconds rather than hauling on the entire neckline. Compare the released section with the untouched opposite side. A clean return suggests useful recovery, while a rippled or enlarged edge signals likely collar fatigue.
Next, turn the shirt inside out at the shoulder so the seam construction is fully visible. Inspect the inside seam from one shoulder, across the back neck, and toward the other shoulder. Stabilizing tape should be caught consistently in the seam rather than ending near the collar. Check whether the twin rows at the sleeve and body hems remain parallel and whether the reverse looper thread skips any section.
Ignore the GSM tag entirely. Make your purchasing decision based exclusively on the physical snap of the collar ribbing and the unbroken line of the shoulder tape.